Stripe powers our payment system, offering robust processing, subscription
management, and global support.
Stripe Setup
- Create a Stripe account or sign in.
- Configure your account and add products or subscription plans.
Product and Payment Link Creation
- Navigate to
Product Cataloguein the Stripe Dashboard. - Click “Create product” and input details. For our credit system, we’ll use one-off payments.
- On the product page, create price variations (e.g., credits-small for 50 credits, credits-large for 100 credits).
- Select “Create payment link” and configure settings.
- Add custom metadata in the payment link settings:
- Click “Add metadata”
- Set a key (e.g., “type”) and value (e.g., “credits-large”)
Webhook Configuration

- Go to
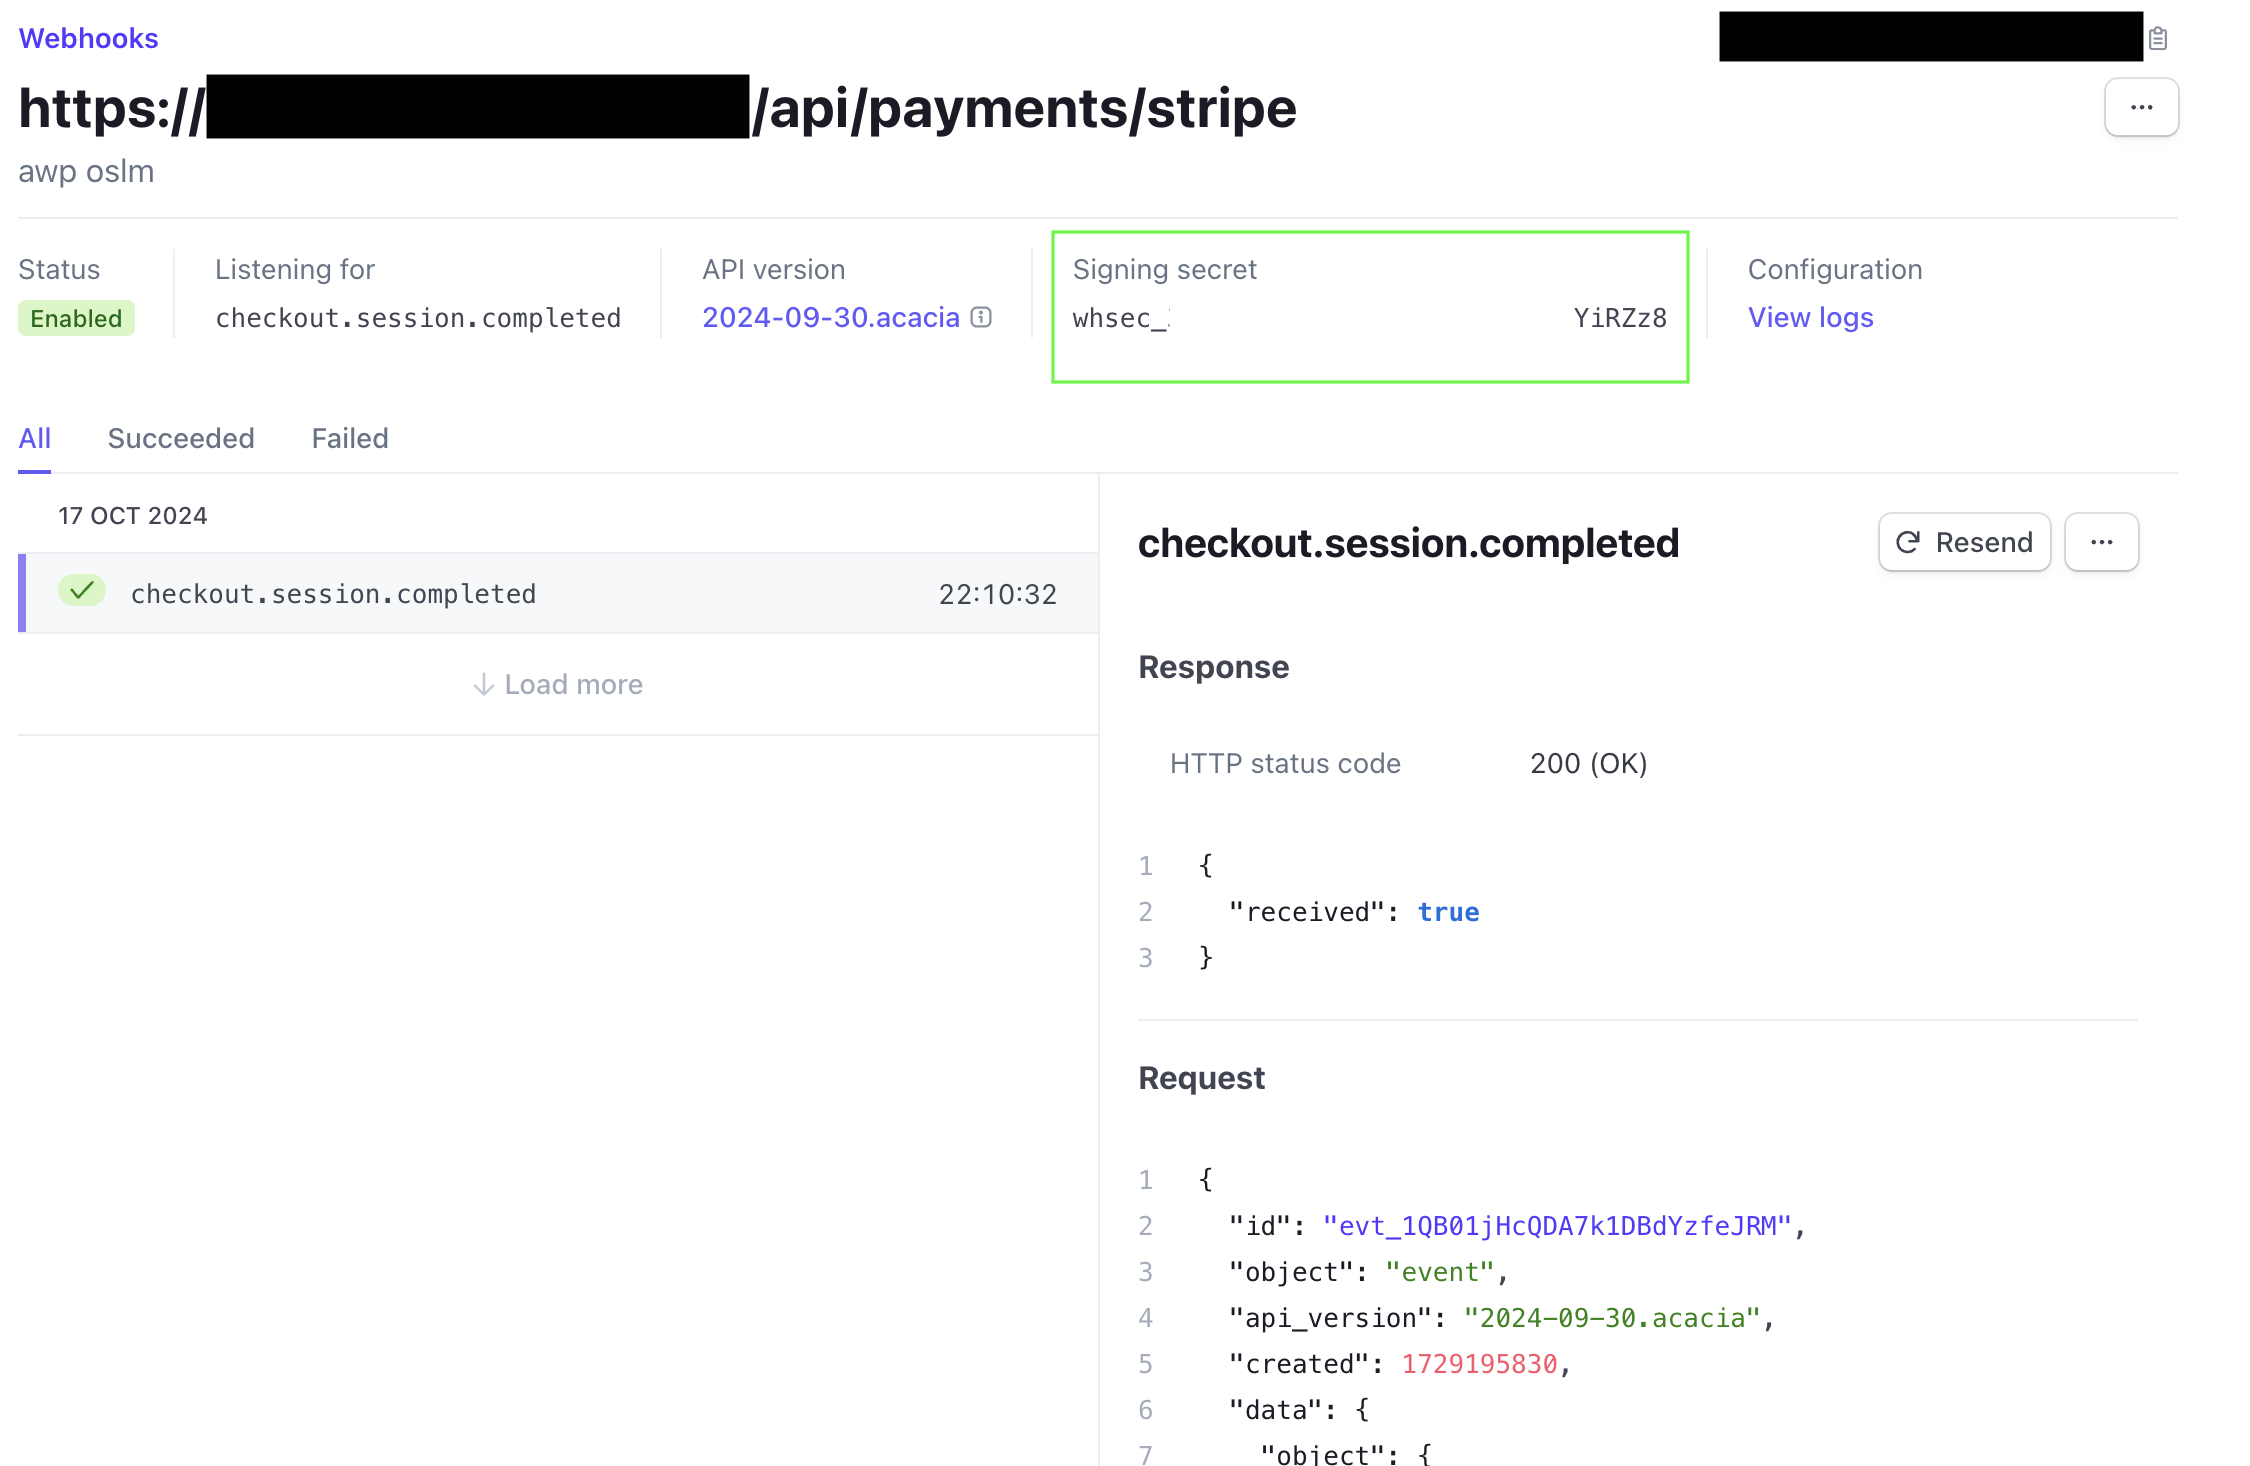
Developers -> Webhooksin the Stripe Dashboard. - Click “Add endpoint”.
- Set the Endpoint URL to
https://yourwebsite.com/api/payments/stripe. - Select events to listen for (at minimum, choose “checkout.session.completed”).
- Copy the Signing secret and add it to your
.envfile asSTRIPE_WEBHOOK_SECRET.
Webhook Handling
The API route atapp/api/payments/stripe/route.ts manages Stripe payments and subscriptions:
- Verifies request legitimacy using
STRIPE_WEBHOOK_SECRET. - Processes the “checkout.session.completed” event.
- Retrieves product information and determines purchase type from metadata.
- Matches user email with the
profilestable:- For matching users, updates the
purchasecolumn inprofiles. - For non-matching users, records the purchase in
purchases. - Performs specific actions based on metadata (e.g., adding user credits).
- For matching users, updates the
Database Setup
Thepurchases table should already exist if you followed the Quick Setup guide and ran the Supabase migrations using the CLI:
supabase/migrations/20240000000007_purchases.sql
Make sure RLS is turned on. We don’t need to add any rules as we’ll be using the service key for to interact with this table.
Purchase Type Determination
The webhook handler identifies the purchase type in this order:- Checks
session.metadata.type(set in payment link). - If not found, checks
product.metadata.type. - If still not found, infers from the product name (premium, core, or enterprise).
User Profile Updates
After a successful purchase, the webhook handler:- Records the purchase in the
purchasestable. - Updates the user’s profile in the
profilestable with the new purchase type.
Paywall Implementation
Demo apps include a credit-based paywall system that uses cached queries for better performance. Here’s how it works:app/(apps)/audio/(app)/app/page.tsx
- Check if the demo app is paywalled (defined in
toolConfig.ts). - Uses cached queries to efficiently verify user credit balance:
- If sufficient, grant access.
- If insufficient, display the
PaymentModal.
Payment Flow Implementation
- Create a UI element linking to your Stripe payment URL.
- Stripe sends a webhook to your endpoint upon purchase completion.
- Your webhook handler processes the payment, using metadata to determine the purchase type.
- Update the user’s profile in your database with purchase information.
- Grant access to premium features based on the updated profile.
