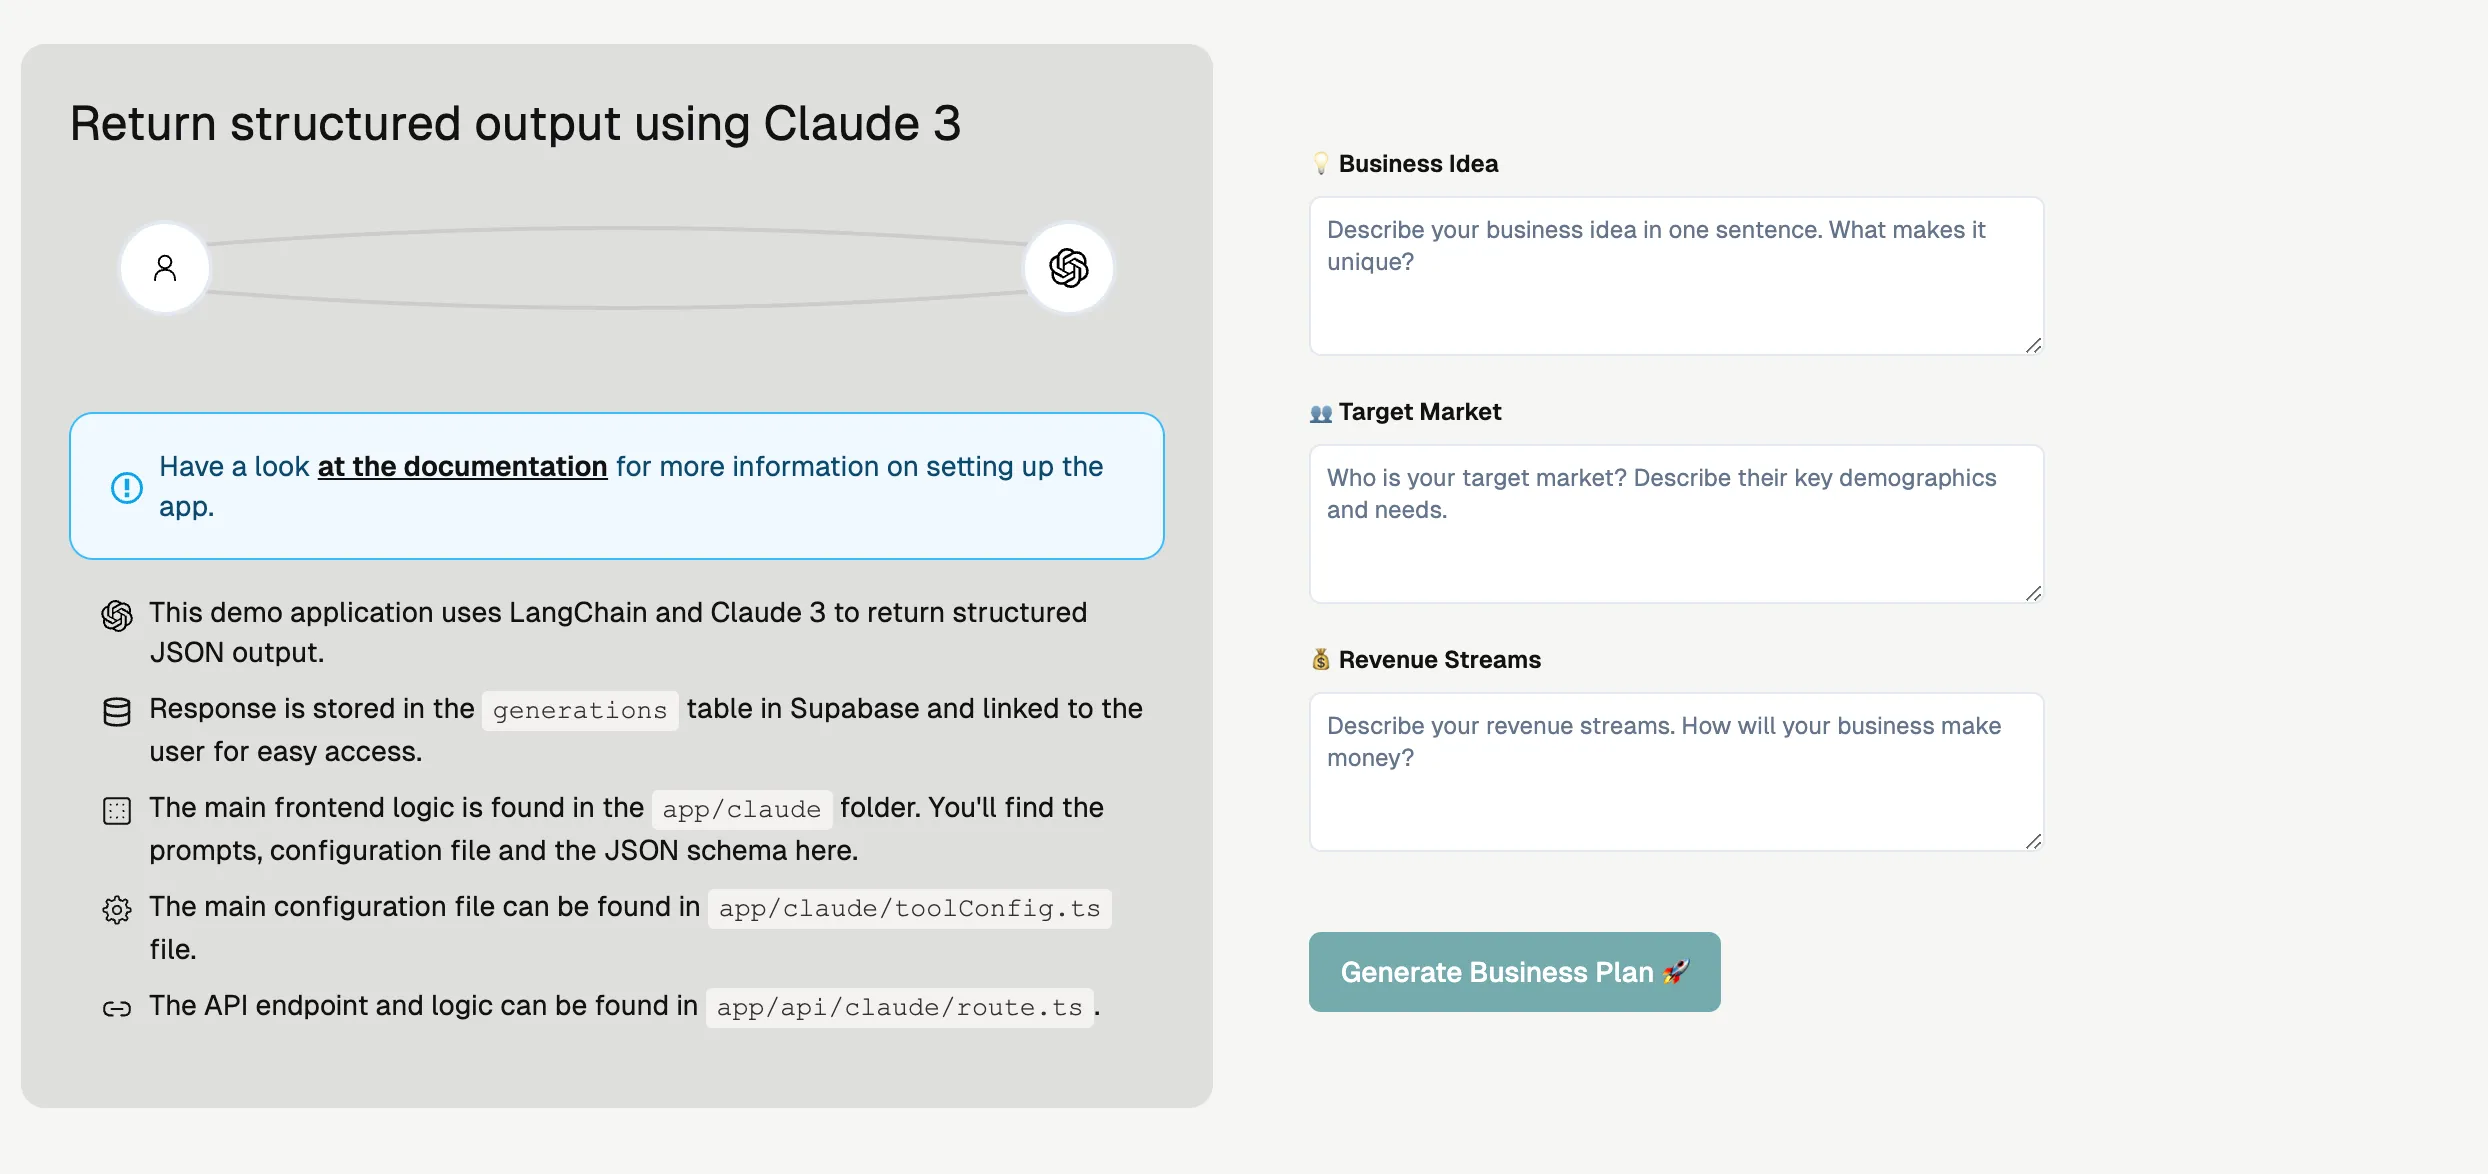
The Business Plan Generator uses Claude 3 to return structured JSON
output. Input details are defined in the
toolConfig.ts file, and the output
can be automatically displayed by the components/output/OutputLayout.tsx
file, regardless of the JSON structure.
Pre-requisites
To run the app, you must have Supabase and Anthropic set up. If you haven’t done this yet, please start there.Supabase
Set up user authentication & PostgreSQL database using Supabase
Anthropic
Set up Anthropic & understand how it’s used throughout the app
Building variations
The app is designed for easy customization and variation generation because of:- Automatic input capturing
- Automatic output rendering, regardless of JSON structure
Prompt and JSON schema
Start by creating a new prompt and JSON schema for your app. Use the existing prompts and JSON schemas for guidance. Follow the same principles and structure as in the demo prompts. Yourprompt.ts file should manage user input like this:
prompt.ts
Automatic input capturing
UpdatetoolConfig.ts to include:
- The input variables defined in the prompt
- Input variables in
prompt.tsshould matchnameintoolConfig.ts. See example below.
- Input variables in
- The button text for the form
- The type of model used
Ensure the
type field in toolConfig.ts is specified correctly.
InputCapture.tsx uses this to determine what to include (fields, file
uploads) and which API endpoint to call.page.tsx page in /app folder of our demo app will get the data from toolConfig.ts and pass it to the InputCapture component to automatically build a form based on this.
Automatic output rendering
app/(apps)/claude/[id]/page.tsx will automatically fetch data from Supabase based on the uuid & render the JSON, no matter the structure.
The OutputLayout component handles all the heavy lifting, automatically fetching and displaying the JSON. Review it for better understanding.
app/(apps)/claude/[id]/page.tsx
